Article
The Science of Making Coffee

I love coffee. Not just for the taste, but for the smell and the look as well. What a nice beverage. I just love it. So how pleased was I when I joined Edenspiekermann and saw how well equipped they were to make coffee.
When I first started, I tried foaming milk by myself but it was always a bitter failure. Nobody succeeds the first time. Or the second. Or the third. At some point, I just stopped trying and always managed to sync my coffee breaks with those of a skilled milk-foamer.
For months I watched a friend and former colleague of mine foaming the milk for our coffees, carefully watching and silently judging, and I gathered a lot of information about his technique.
When he left the company a few months ago, I had to take over. It took me a few weeks, but I can now foam milk as smooth as silk 100% of the time, making a pretty decent coffee. In this article, I’d like to share a few tips on how to get there.
Before we get started though, I would like to state that I am not an expert at making coffee, and a lot of people make splendid coffee at Edenspiekermann, surely better than mine. But, I guess I am the only one here making good coffee and writing articles, so… here I am.
The equipment
We have an Italian Noveseinove machine, which I can only assume is expensive. That being said, I don’t think you’ll need such high-quality equipment to make a lovely coffee, so any machine with a proper milk steamer that can handle an espresso shot should be good.
To foam the milk, you will need a container. I personally use a half-liter metal pot with a tight handle and a spout.
I tried several things for the cup, and the easiest way to rock the pouring seems to be in a large cup with rounded bottom. A glass is too narrow and too deep. A mug is too deep, and the flat bottom does a weird thing to the milk. A small cup is fine but it’s slightly harder than a large one, because of the reduced content.
That should be all you need.
The ingredients
It’s not like there are many ingredients: coffee and milk.
Our machine grinds coffee beans right in front of your eyes to fill a shot-sized repository, so we buy beans. It’s really a matter of preference. Obviously, the better the coffee beans, the better the beverage.
Regarding the milk, you’ll want a full-fat one. We run on 3.5% at the office. Anything below 3% is going to be super hard to steam, and is likely to produce a low-quality foam. From time to time we run out of full-fat, and I cry every time I have to make my coffee with 1.5% milk.
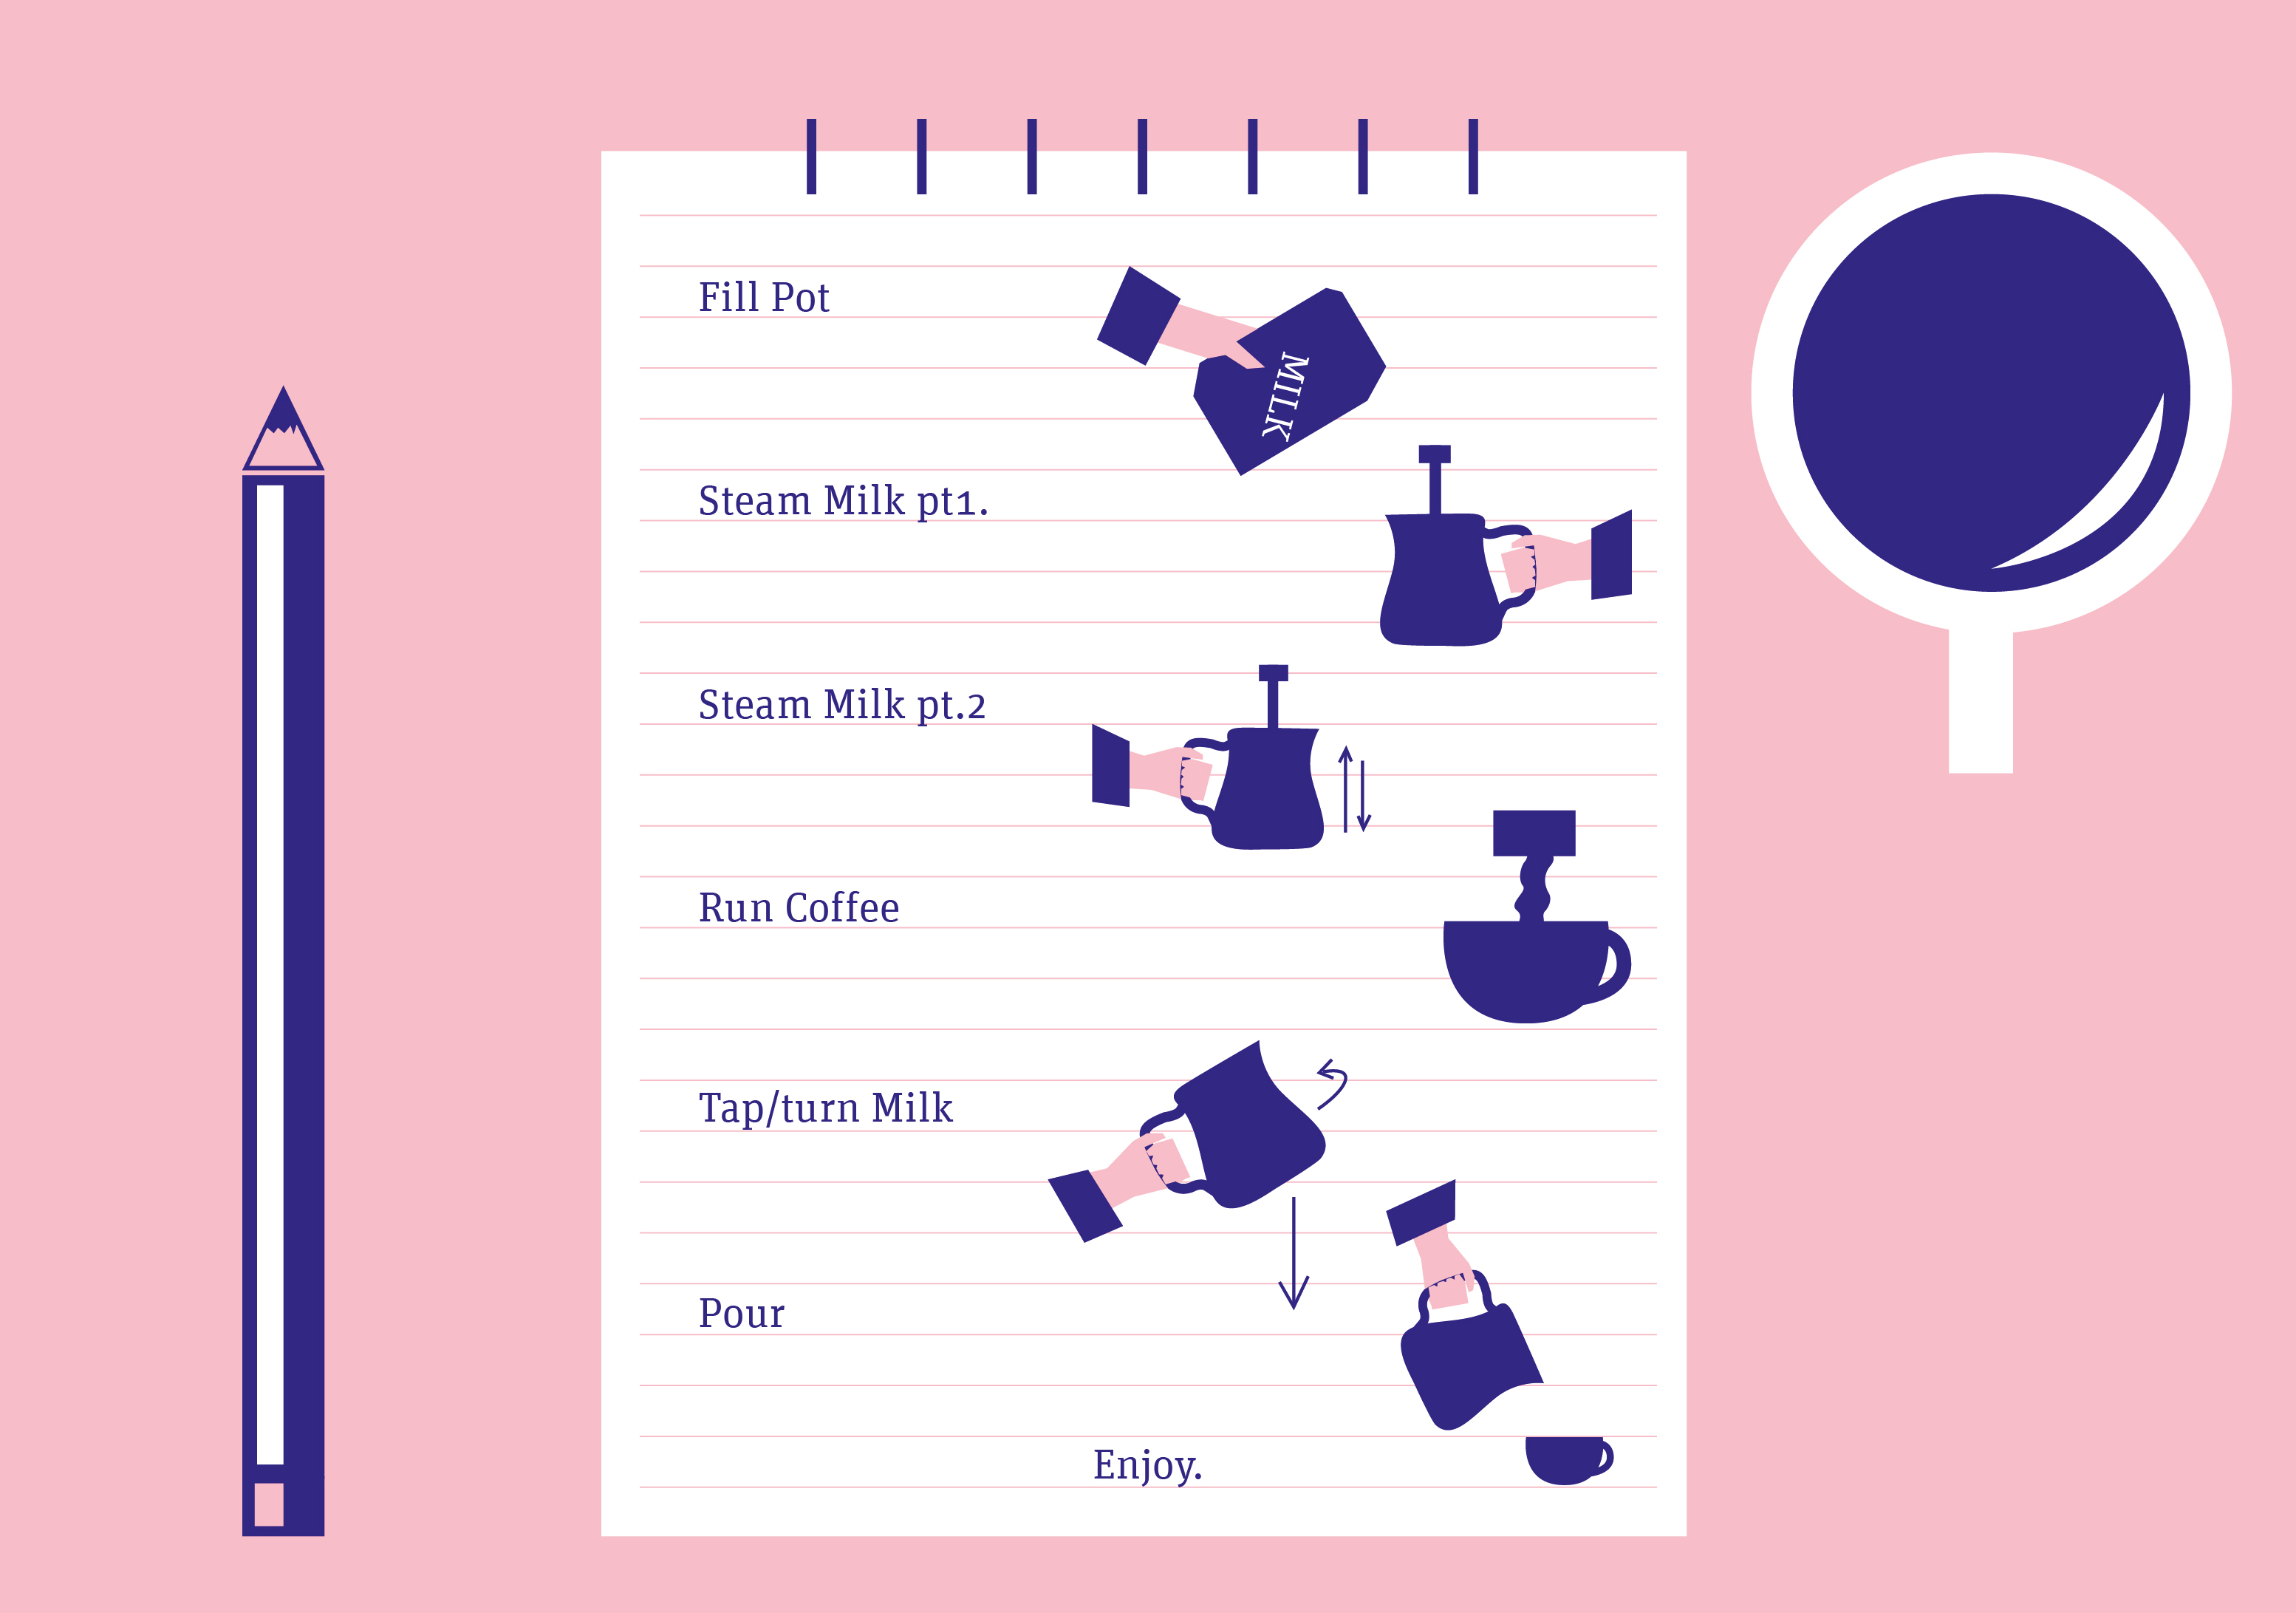
The plan
Preparing the coffee works in a series of steps. Prepare the milk first, and, while it rests, prepare the coffee. Otherwise the coffee will be getting cold while you do the milk. The closer they are in temperature when mixing, the better.

Steaming the milk
Alright, this is the hard part. It’s so hard that it’s frustrating. But, when working in the best possible circumstances, and with a little bit of practice, we can make very good foamy milk that makes a delicious flat white or cappuccino. Bear with me.
The first step is obviously to fill your pot with milk. I usually fill it to two thirds. The steamer works by injecting steam, so the volume will grow; if the pot is too full, it will overflow, but if it’s too empty, the milk will overheat without time to foam.
For this reason, you also want to get milk straight from the fridge. Using cold milk makes it possible to steam it a few seconds longer, which can make all the difference. A nice trick is to rinse the pot with cold water before. It will cool it down and make it possible to steam the milk slightly longer.
Now it’s time to get steaming. It takes about 25 seconds, divided into two phases. The first takes about 8 to 12 seconds. Let’s start with it.
Place the end of the steamer below the surface, and open the pressure in one go, not gradually. At this point, it’ll make a lot of noise and maybe even splash a bit. That’s fine. The trick is to find the right spot below the surface so the noise fades quickly. If you keep hearing the noise, it means either the pressure is not high enough, or the position of the steamer is wrong. Keep it below the surface for about 5 to 7 seconds, just enough to start feeling the pot getting warmer. Not warm; warmer. That’s the end of phase one.
Now, place your other hand below the pot to feel the temperature rising. At this point, you can start moving the pot vertically along the steamer axis, but not too fast. This makes the milk texture more consistent in the pot, making it easier to pour later on. Keep doing this until the bottom of the pot is getting very warm.
Getting to know the right moment to stop is tricky. If you have to remove your hand because it’s too hot, it’s too late; the milk is going to be too hot as well, too foamy, and the mix with coffee will be odd. If the pot is barely hot, it’s too early and the milk is likely to be tepid and not foamy at all.
When it’s time to stop, shut down the steamer pressure while it’s still in the pot. If you remove the pot while the steamer is running, it will create spurts which could splash you (and possibly burn you).
Running the coffee
When you’ve steamed the milk, prepare the coffee (if it hasn’t conveniently been done by someone else yet). But remember, don’t run the coffee too early or the difference in temperature with the milk will be too large.
Given that the machine does everything for you, this is probably the easiest part of the whole process, but there are a few things you want to pay attention to if you have an espresso machine. The portafilter will be in the machine with the old coffee grounds until you prepare yours.
So, when you want to run your coffee, remove the portafilter from the machine, empty it, and fill it with your fresh coffee. Before putting it back in, run a bit of water to make sure that the previous coffee did not leave sediment, then put it back in place and run your coffee.
For a large cup (mug style), go with a double shot. If you prepare two smaller cups, do one shot each. It also depends on how much milk you steamed, and how strong you like your coffee.
The finishing touches
There is still a bit of work to be done on the milk before being able to pour it into your cup. After you’ve steamed it, it’s likely to have a lot of small bubbles on the surface. These have to disappear. To do so, gently hit the bottom of the pot against the counter. Before hitting it again, rotate the pot slightly to swing the milk and make it consistent. Repeat this operation until you have a nice soft texture without any bubbles. It might take 10 to 20 seconds.
The pour
Alright, now you only have to do the pouring, which turns out to be pretty technical (especially if you want to draw something). It basically comes down to three criterion:
- Speed: if you pour the milk too slowly into the coffee, both liquids merge together which is not what you want. I’d say you’d want to pour it (moderately) fast rather than slowly.
- Position: start almost on the opposite side of the cup, then, while pouring, move across to end on the closer side of the cup. Right at the end, move the jug across the cup while holding the spout on the surface to finish it.
- Rotation: if you want to do a classic leaf, your hand holding the pot handle should quickly and gently swing left and right while pouring. This creates a kind of snake that gets transformed into a leaf when you finally cross the surface with the spout.
And that’s it. Enjoy your coffee and remember to clean the steamer for the next person. ;)
Illustrations by Tomas Clarkson.